One of the fun parts of the adventure where I created an impromptu shower in our downstairs by breaking open a hot water pipe before I was actually ready to do so, was discovering that the valve on the water supply line into our house didn’t close completely.
It’s an old compression valve, and when I tried to close it down all the way, it would start leaking quite a bit, and water would still be coming through various cold water taps. I tried shutting off the valve in the sidewalk (before the water meter), but it was really tight and I was afraid to break it. So several projects have been on hold for a couple of weeks while I figured out what it would take to swap out my lame water line valve.
We have a new washer/dryer coming this week, so I wanted to be sure I could stop our water. I also had an afternoon when I was going to be home from work midday. So I called EBMUD and had them come out to shut the water off at the street. The dude assured me that the small amount of leakage I saw when I tried to shut it off was normal, so I was confident that I could turn it back on once I was done.
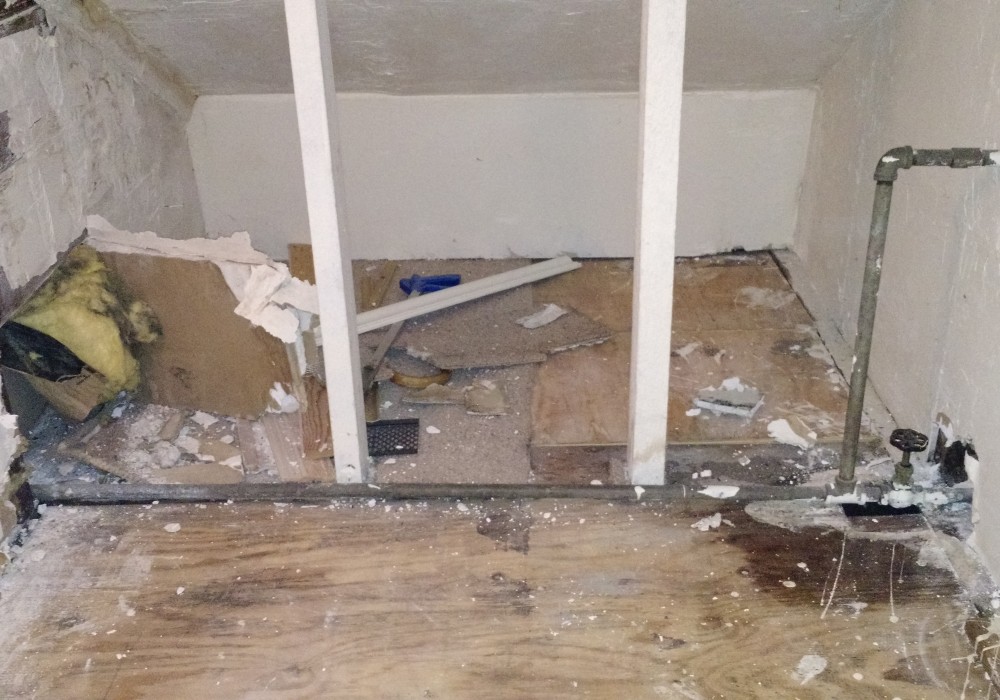
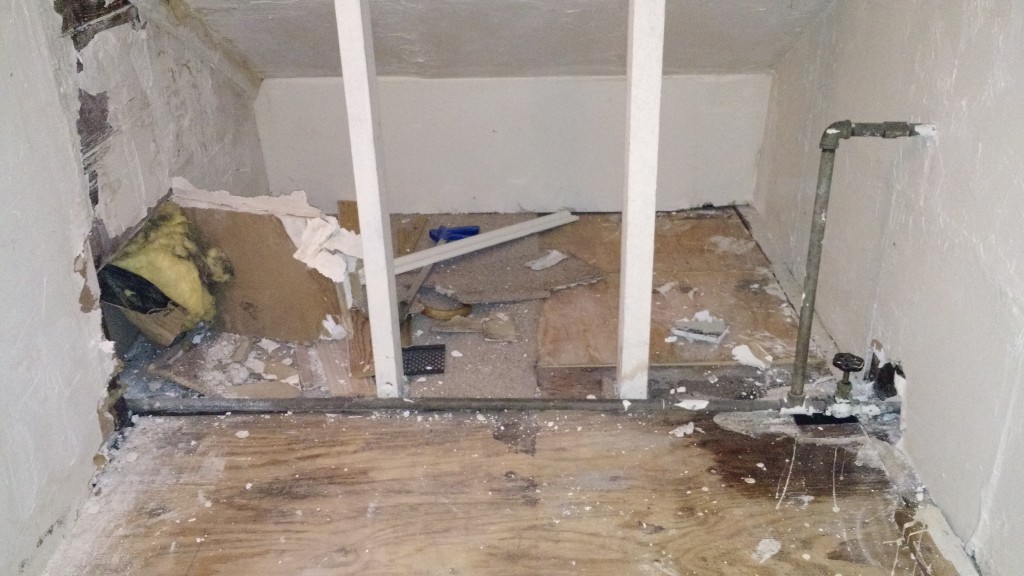
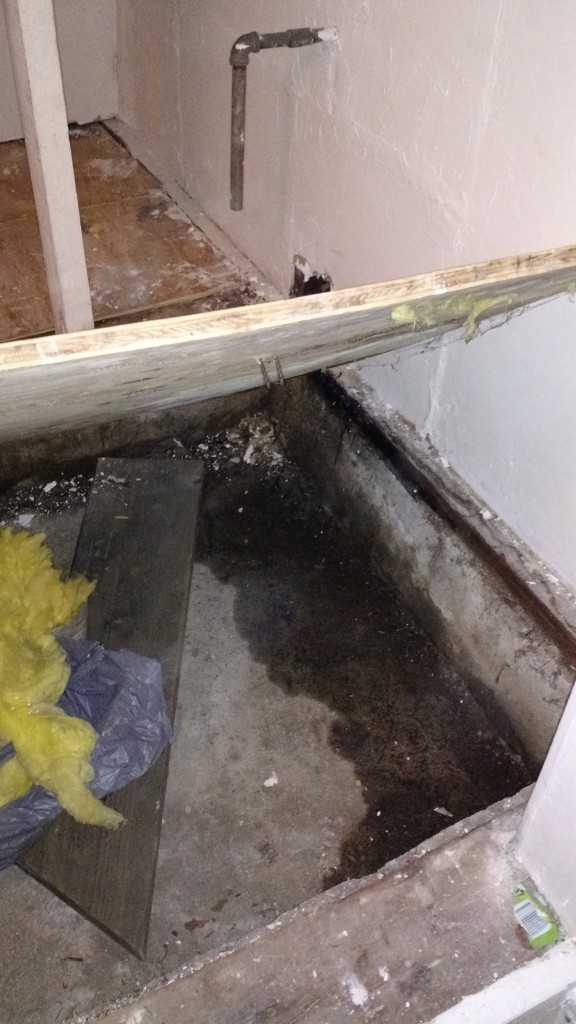
Here’s the spot where the water line comes in under the front stairs:
As with many areas of the house, it was drywalled and roughly spackled, but not in a super smooth, professional way. the plywood floor was covered by carpet, but after shutting that valve a couple of times and noticing a strong mildew/moldy/wet smell, I got concerned and ripped some of that carpet out.
First step on this project was to rip most of that carpet out and to open the drywall on the left to see if there was an elbow joint on the line. Sure enough, the plywood under the valve was quite soaked, which would account for the mold/mildew. There was an elbow joint in the left wall as expected. Though in truth, the joint was on the other side of that wall, in the guest room. The pipe had been covered in plaster to obscure it.
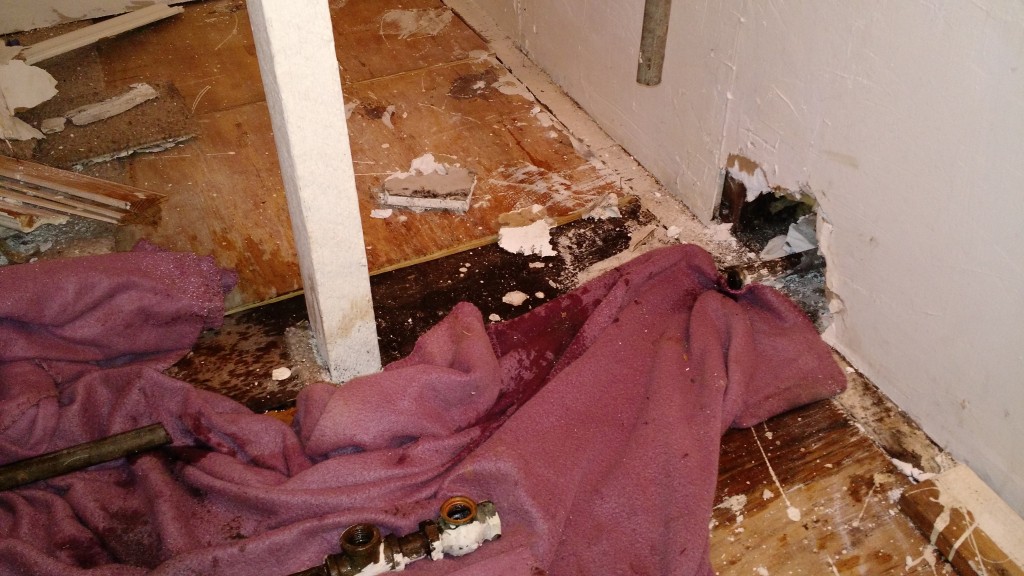
Once I felt confident that I could connect in to the house main water line without having to go too far, I chopped that horizontal pipe with a sawzall. I also cut the vertical pipe (leads to an outdoor spigot in the front of the house that we don’t need in the near term) to allow the horizontal line to unscrew.
Thankfully, the pipes didn’t fight much, and by combining two monkey wrenches, the horizontal line and the valve came out pretty easily. I really hadn’t accounted for how much water would be trapped in the line between where I cut and where the nearest faucet is, but luckily, I had prepped the area with some old crap blankets, and they soaked up most of it.
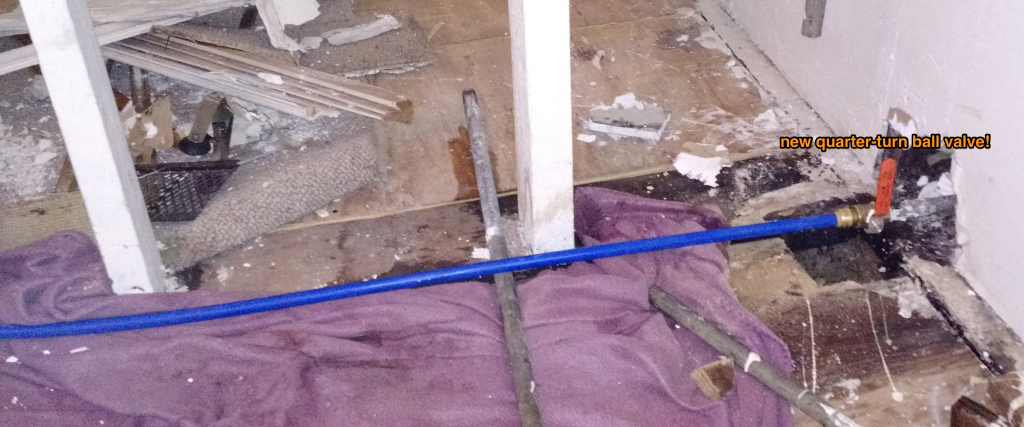
After confirming that all the pipes are the same diameter, I took a six inch piece with threading to home depot and grabbed sharkbite fittings to match the galvanized and the last bit of Pex plastic piping that I had left over.
The next snag in the project was to realize that there wasn’t enough space at the elbow I planned to connect into to actually tighten the connector. Oops! Didn’t really think about that…
So I had to open things up to the next joint, which was thankfully at the top of the wall in the guest room area. The line of Pex I had leftover could just make it far enough to connect there, so a little sawzall work later, I eliminated another 7 feet of galvanized and popped the Pex in.
Et, voila!
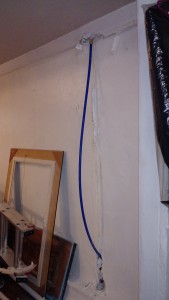
The guest room wall doesn’t look so sexy. I hope this will provide motivation to change this line out relatively soon…
Later on, I pulled the plywood up and out so that I could see what’s underneath and dry out that space. There was definitely mold on the underside of the plywood, but it turns out that it was already concreted below! I was expecting to find open earth. There’s plenty of water there, likely from all my futzing around with it, so I left it uncovered with a fan running on it. Hopefully it will dry out soon and then we can decide if we want to re-cover it with plywood, or leave it open. Maybe this should be our long-term wine storage area?
